Installation
Following directions from the Jenkins site, these are my notes to configuring a base Jenkins setup on Ubuntu 12.04. Let’s first start by adding the jenkins repository, refreshing the apt repository listing, installing, and starting up:
1 2 3 4 5 | |
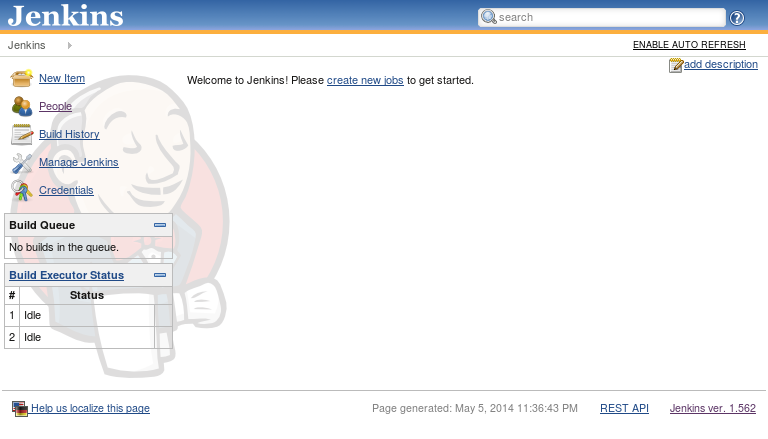
By default, you’ll be able to reach the jenkins server over HTTP on port 8080. Here is the screen you are greeted with:
Our jekins configuration files live at /var/lib/jenkins which happens to be the home directory for our new jenkins user. Here is a default directory listing upon installation:
1 2 3 4 5 6 7 8 9 10 11 12 13 14 15 16 17 18 19 20 21 22 23 24 | |
Plug-ins
Jenkins is configurable with community plugins. For my project, I wanted to include git support but by default jenkins only supports CVS and subversion. Turns out you can easily install plugins via the web-interface. Make sure you already have git installed on the jenkins server. From the main page:
- click
Manage Jekins Manage PluginsAvailable- Type ‘git plugin’ in the search bar
- Select the Git Plugin and
Download and Reboot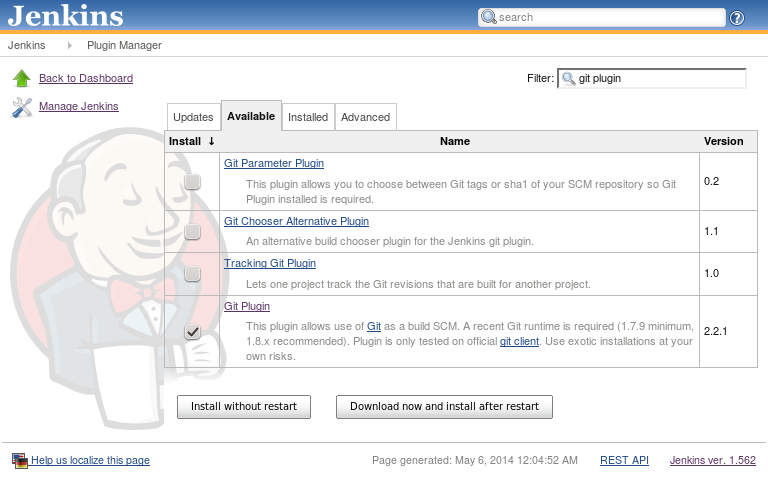
- Select the option to reboot when no jobs are running
Run tests against a git project
From our main jenkins page:
New item- Fill out
Item nameand selectBuild a free-style software project - Scroll down to source code management and select
git - Enter the URL of the git repository and any credentials you may need. For my test purposes I pointed to a file-system path that I have shared with my jenkins test server. If jenkins can’t reach the git URL you’ll get an error before you hit save which is nice.
- Under
Build Triggers– set up a schedule underPoll SCM. The syntax is similar to Unix crontab. The documentation recommends that you utilize an H in place of a field in order to help distribute the workload amongst multiple jobs. For exampleH * * * *will run a job every hour at a variable minute related to other scheduled jobs. - Finally under
build/Execute Shell– set up the scripts that are necessary for testing your project. Here was an example for mine that I found from a blogger :
1 2 3 4 5 6 7 8 | |
You can manually kick off a build from the Jenkins job page using Build now. You can follow it live with the console view to see the output from the scripts. The git files will be pulled into your build workspace which for our Ubuntu install was /var/lib/jenkins/jobs/project_name/workspace/
Git Hook
You can tie a build into your git repo using a git hook and by supplying a specially formatted HTTP GET request to your jenkins server. You won’t have to authenticate to jenkins to kick this off, so just keep that in mind during deployment. It is recommended to use curl to kick this off using the following format:
curl http://yourserver/jenkins/git/notifyCommit?url=<URL of the Git repository>[&branches=branch1[,branch2]*][&sha1=<commit ID>]
The git jenkins plugin will determine what jobs are associated with the <URL of the Git repository> and start those builds. You’ll need to setup some kind of polling configuration on the job in order for this to work right.
Overall it was fairly painless to get it up and running for testing purposes. I didn’t do any due dilligence to lock this down in my vagrant environment but that would be a primary concern for me when rolling this out in a production environment.